How to Add a Pop-Up on Squarespace (Step-By-Step)
A promotional pop-up on your Squarespace website can be a great way to grow your email list, share a free resource, promote a special offer, or collect donations. A pop-up appears when visitors land on your site to grab their attention and make it easy for them to take action. Read on to learn how to setup and customize the Squarespace promotional pop-up and best practices to minimize impact to your SEO and user experience.
Note: You'll need a Core (or Business) level Squarespace plan or higher to access this marketing feature. You can’t use a promotional pop-up on the lowest Basic (or Personal) Squarespace plan. Not sure what plan you have? Go to Settings > Billing > Subscriptions and select Website to see your plan.
Promotional Pop-Up Best Practices
Website visitors don’t love pop-ups, but they work! If you offer something of value and it’s clearly communicated in the pop-up (“Get 10% off when you join the list!”, “Grab this short guide that will change your life”) people will take action if they want this thing! They might not otherwise stumble on the information buried somewhere else on your website.
But it’s important to follow some guidelines so your visitors don’t get annoyed and navigate AWAY from your website without doing anything at all (and THIS negatively impacts your SEO). Here are some recommendations for using promotional pop-ups on your website.
Use timing and/or scroll delay so your pop-up does not appear before the visitor has had time to engage with your website (they are visiting for a reason!)
Consider displaying your pop-up on a subset of pages where visitors are most likely to engage with it. For example, you might only promote a lead magnet on your blog pages or offer a discount on a specific product page. (Note that you can only have ONE promotional pop-up in Squarespace, so use it wisely.)
Be strategic about how much space the pop-up takes up on the screen. Squarespace provides options for larger and smaller pop-ups. Sometimes you want to be more “in your face” and sometimes you want a more subtle nudge. Test out some options to see which one works better.
Keep the pop-up clear and easy to read. Squarespace has pre-set formats that are simple and uncluttered so if you don’t add TOO much text, you can’t mess this up!
Make it easy for the visitor to dismiss the pop-up. Nothing is more annoying than not being able to CLOSE a pop-up window because the close icon is not visible and you spend forever clicking around to get it to close. In Squarespace, you can adjust the style of your close button AND by default if anyone clicks outside of the pop-up, it will close, so you can’t mess this one up too much either.
Now let’s set up your promotional pop-up in Squarespace!
1. Find the Promotional Pop-up Panel
To navigate to the promotional pop-up settings:
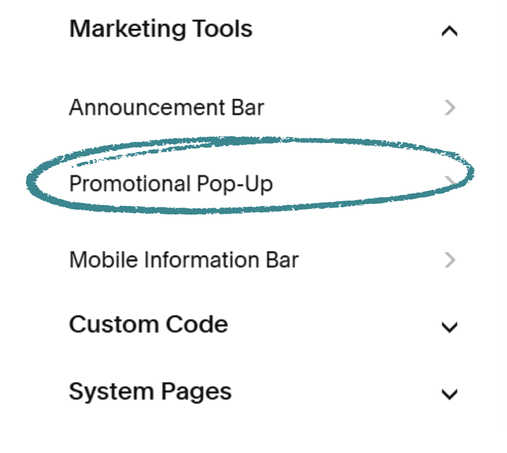
From the main Squarespace menu, under Website select Pages
Scroll all the way down to the bottom of the list and click on Marketing Tools > Promotional Pop-up
Pro Tip: If the promotional pop-up panel is not where I said it was, hit the forward slash ( / ) key on your keyboard or use the Search icon in the main menu and search for “Promotional Pop-up”
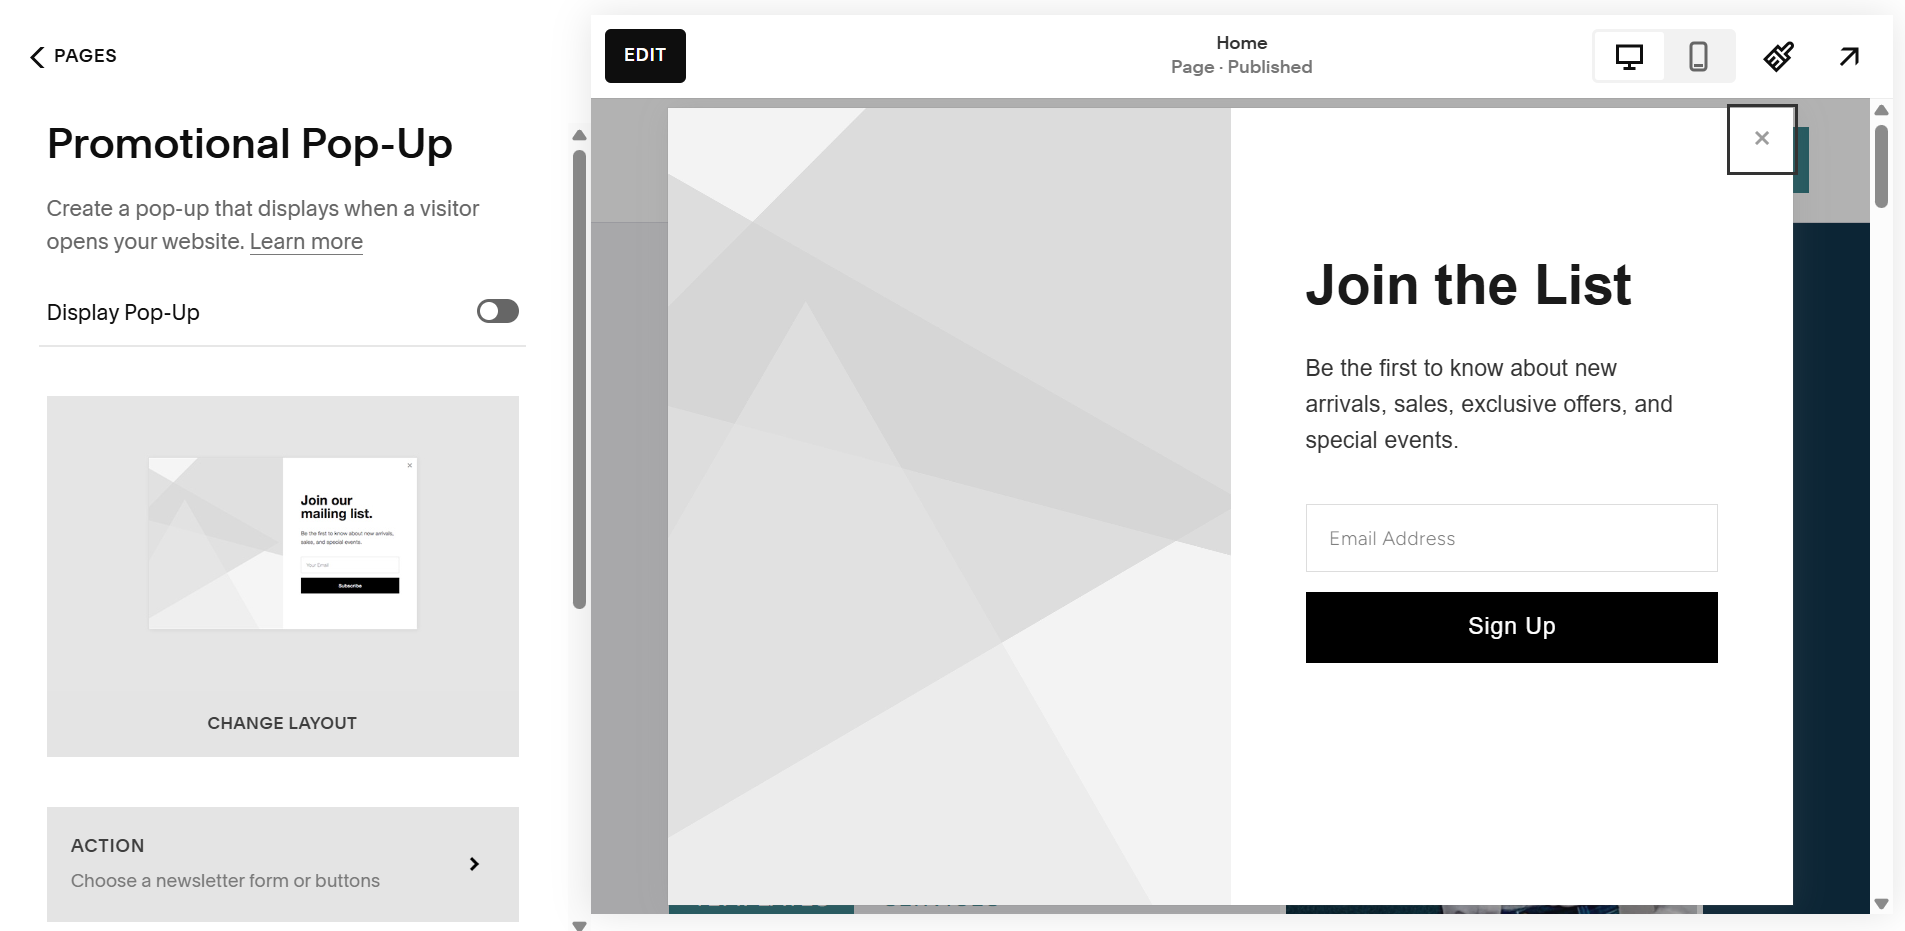
Here is what the Promotional Pop-Up panel looks like:
2. Choose Your Pop-up Layout
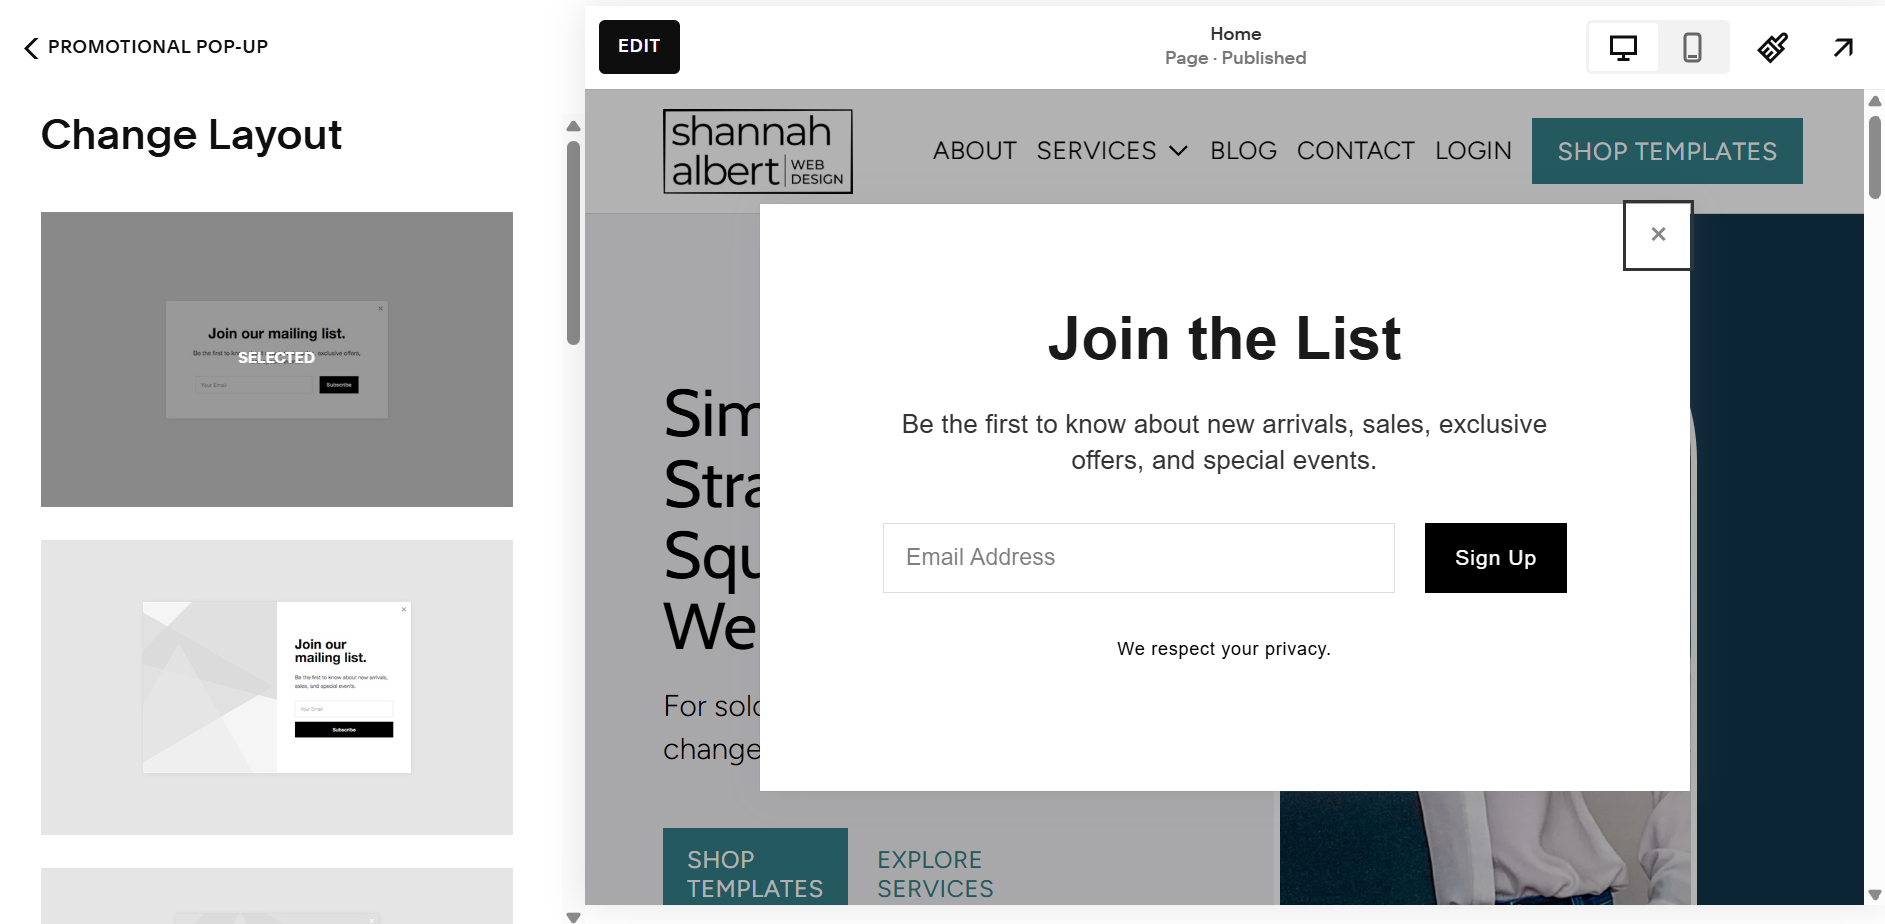
Squarespace offers several pop-up layout options. You can choose a layout with or without images. Some layouts appear in the middle of the screen, fully covering up the content on the page. Others are less obtrusive, appearing in the corner or the bottom of the screen.
On the Change layout panel, scroll through the options, and select the layout of your pop-up box
3. Set Up the User Action (Newsletter Sign-Up or Button)
On your pop-up, you can include an e-mail sign-up OR a button to direct people to a page on your website (or any website). For example, you might link to a page where you collect donations or if you want to promote a new product or service, link out to the page with those details.
On the Action panel, select your “goal” (Sign up for a newsletter or Click a Button) and complete the steps below to provide the rest of the details.
Sign Up for a Newsletter Action
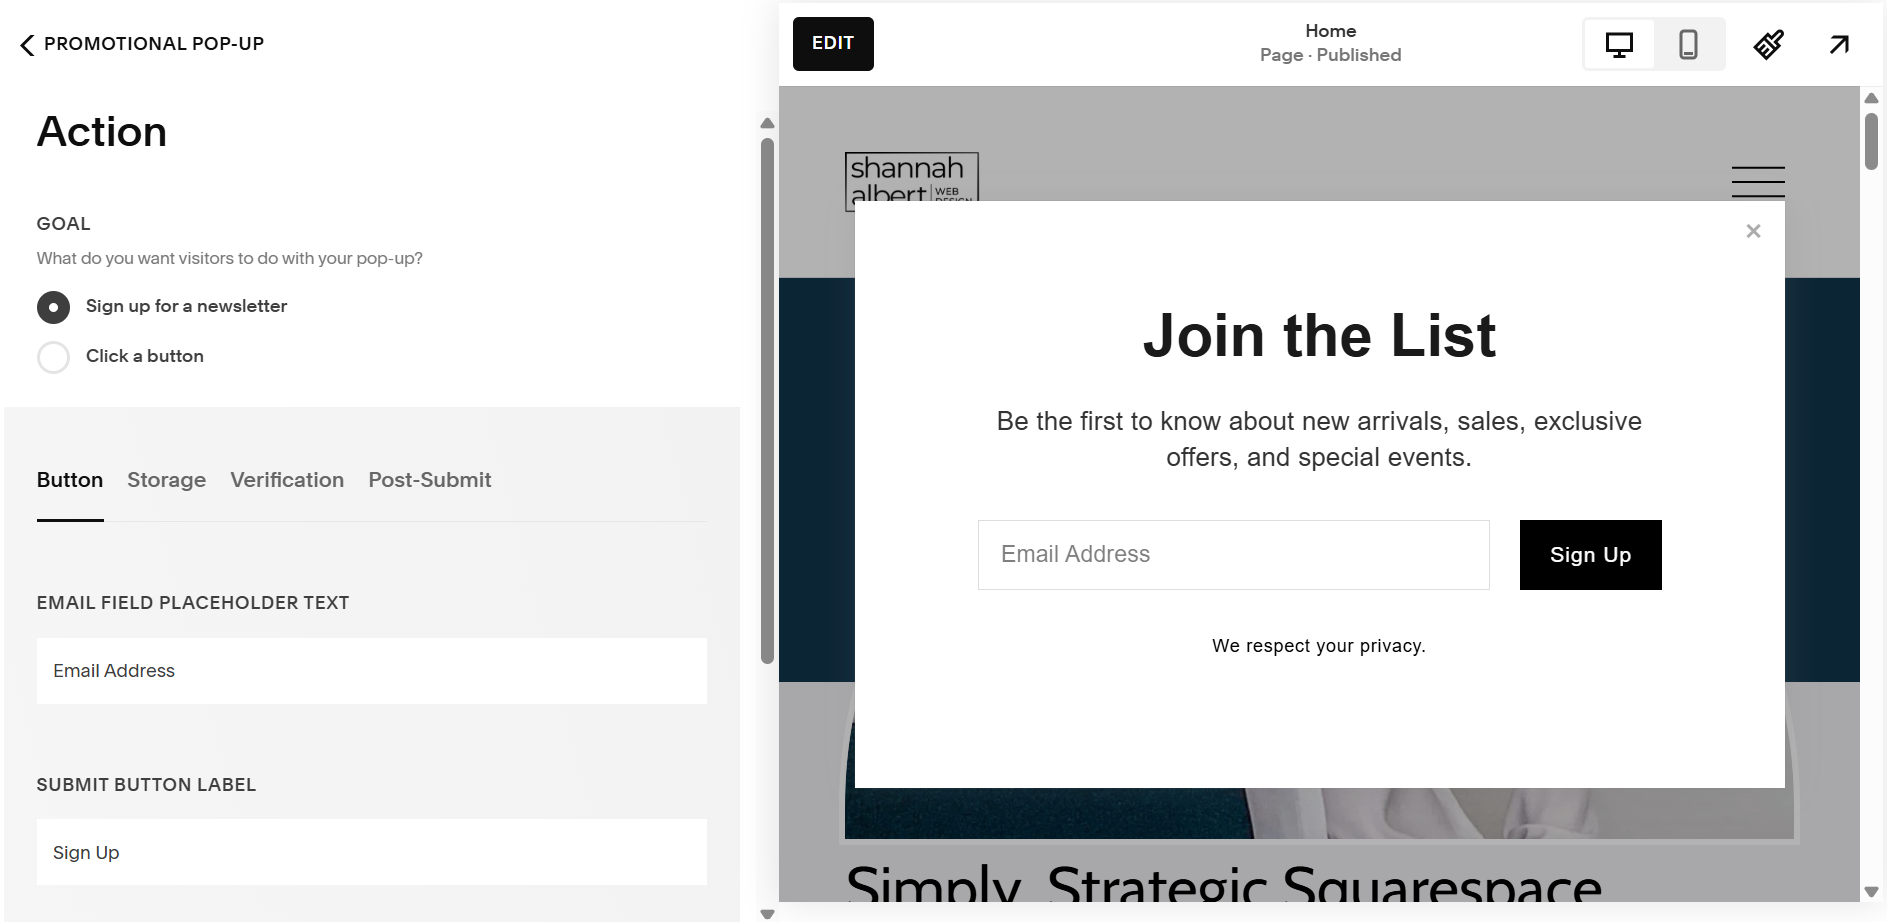
Click through each tab to update your newsletter sign-up settings.
Button Tab: optionally change the text on the email field, button, and disclaimer
Storage Tab: select where you want to collect e-mail addresses
You can connect to Squarespace Campaigns, Mailchimp, or collect email addresses in a Google Sheet
If you are using another program for email marketing (eg Flodesk, Kit), you can use the “Click a button” action instead and link out to a page that collects email addresses for that program
Verification Tab: select whether you want to verify your subscribers with a confirmation email and/or reCAPTCHA
Post-Submit Tab: add a message that displays after users subscribe. (e.g. “Thanks for signing up! Keep an eye on your inbox….”
Click A Button Action
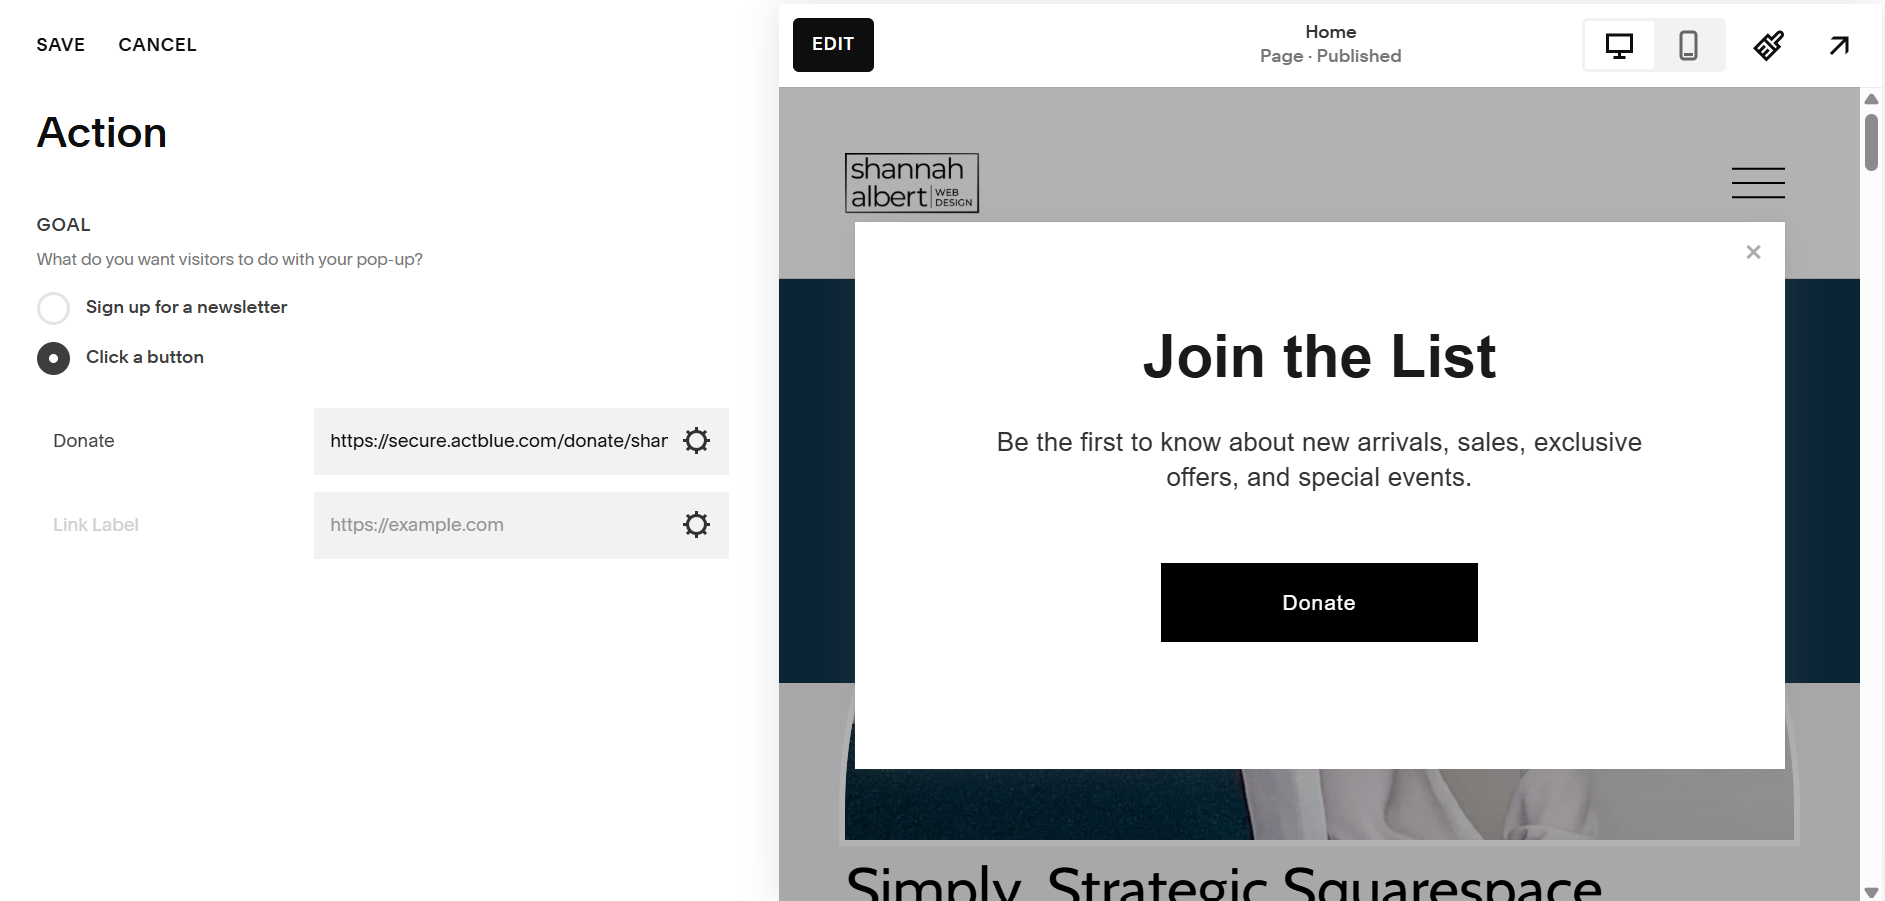
If you are using a button on your pop-up instead of a newsletter sign-up, enter the information for your buttons.
Enter a Link Label. (Your button will not appear until you enter a label)
Enter a link. You can link to a page on your website or an external link. (make sure to use the settings icon to toggle on “Open in a New Window” if you link to a page outside of your website)
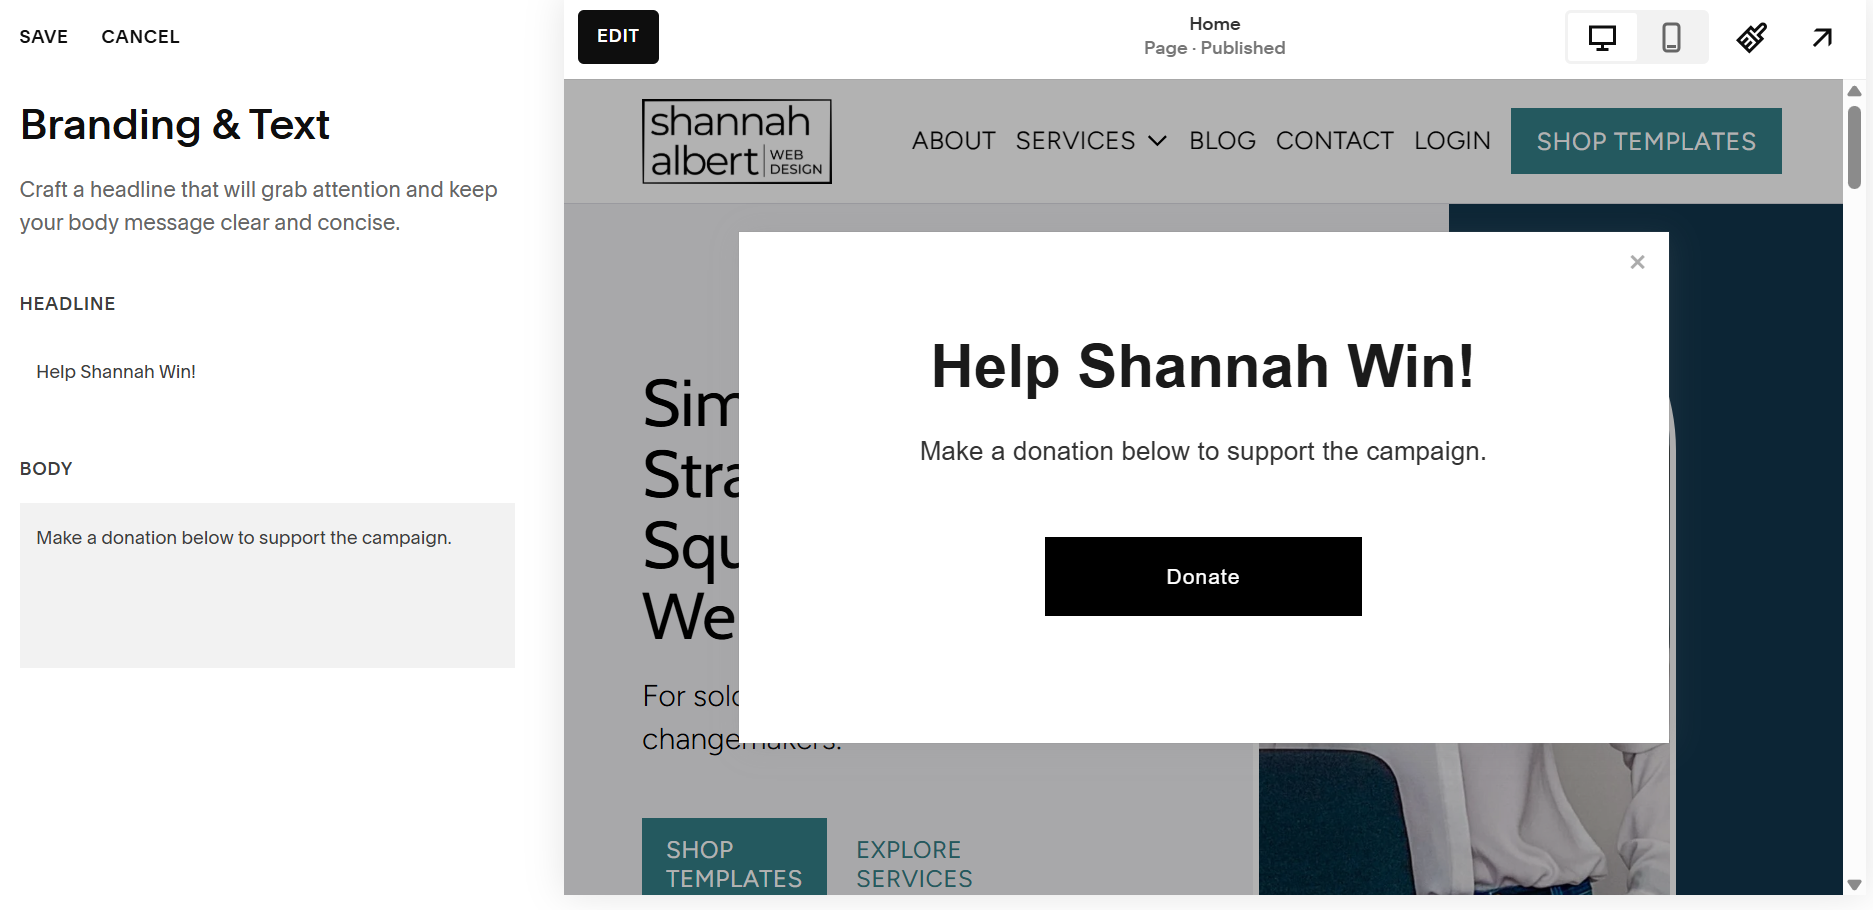
4. Update Pop-Up Content
On the Content panel, update the Headline and Body text of your form.
5. Set Pop-Up Display & Timing
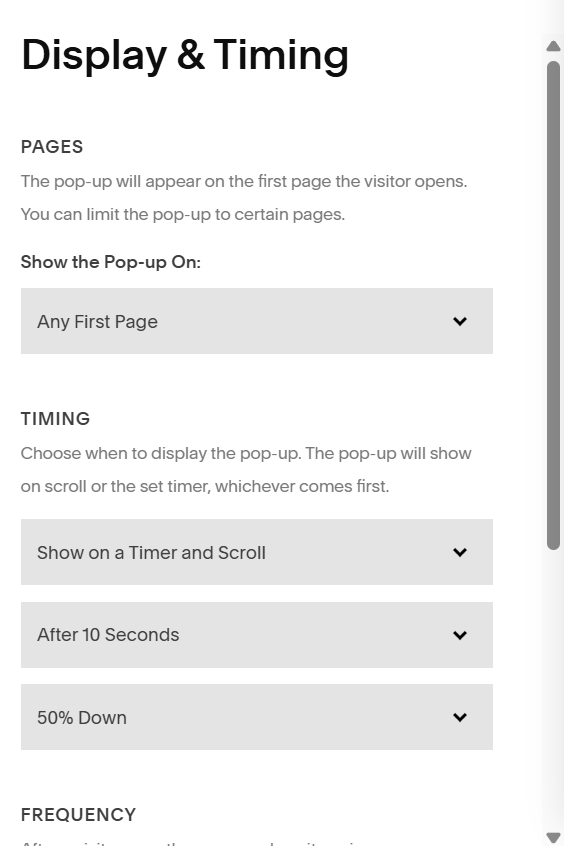
On this panel, you tell Squarespace where and when to display your pop-up.
Pages – you can display your pop-up on the first page anyone lands on OR select specific pages you want to display your pop-up on.
Timing – set how long you want to wait before you display your pop-up (I would suggest at least 10 seconds) and how far down you want people to scroll before you display the pop-up (I would suggest at least 20%)
Frequency – it is common to wait 30 days before displaying a pop-up again after someone dismisses the pop-up (but you can set this to be less time or never to display the pop-up every time a visitor visits)
Don’t Show Again after Newsletter Sign-up – click this option to NOT display the pop-up again after someone submits their e-mail address on this form (note: this only applies to people who signed up USING this pop-up, not if they signed up using another form on your website)
Show on Mobile – you can decide whether or not you want this pop-up to display when a visitor visits on mobile
Reset – if you change your pop-up to feature a new promotion or lead magnet, you can click RESET which show the pop-up to everyone, even if they have previously dismissed it or provided their e-mail through the pop-up
6. Style Your Pop-Up
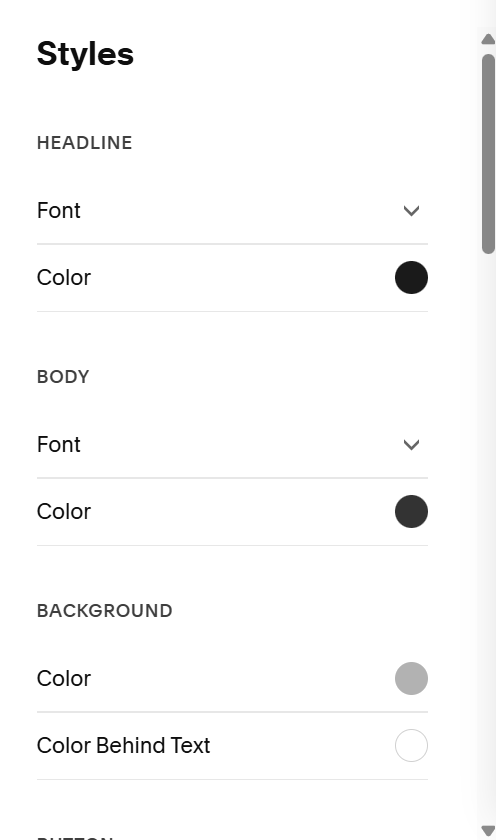
On the Styles panel you can update all of the styles of your pop up.
Here are the styles you might want to focus on:
Change the fonts to match your website fonts
Change the button color and style to match your website
Make sure the close button is prominent and easy to see
Disable the mobile specific styles to make them match the styles you set on the website view
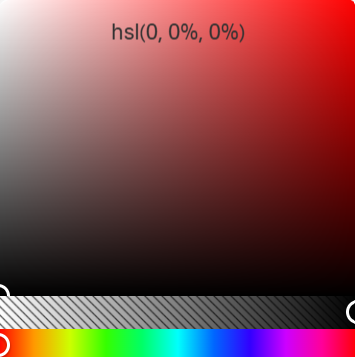
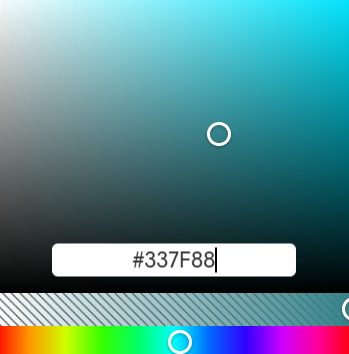
Note: To change your colors, you can type over the HSL color in the color panel with a Hex code or you can drag the white circle to a new color.
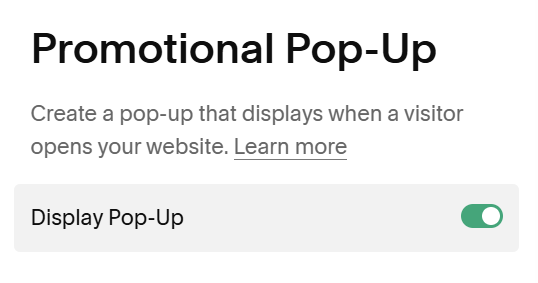
7. Enable Your Pop-Up
When your pop-up is all set up and ready to go, make sure to toggle Display Pop-Up ON (at the top of the main promotional pop-up panel) to show the pop-up on your website.
The Net-Net
A promotional pop-up can be a great tool to get people to take action on your Squarespace website, just make sure to follow the guidelines in this post to make it more effective than annoying to your visitors!